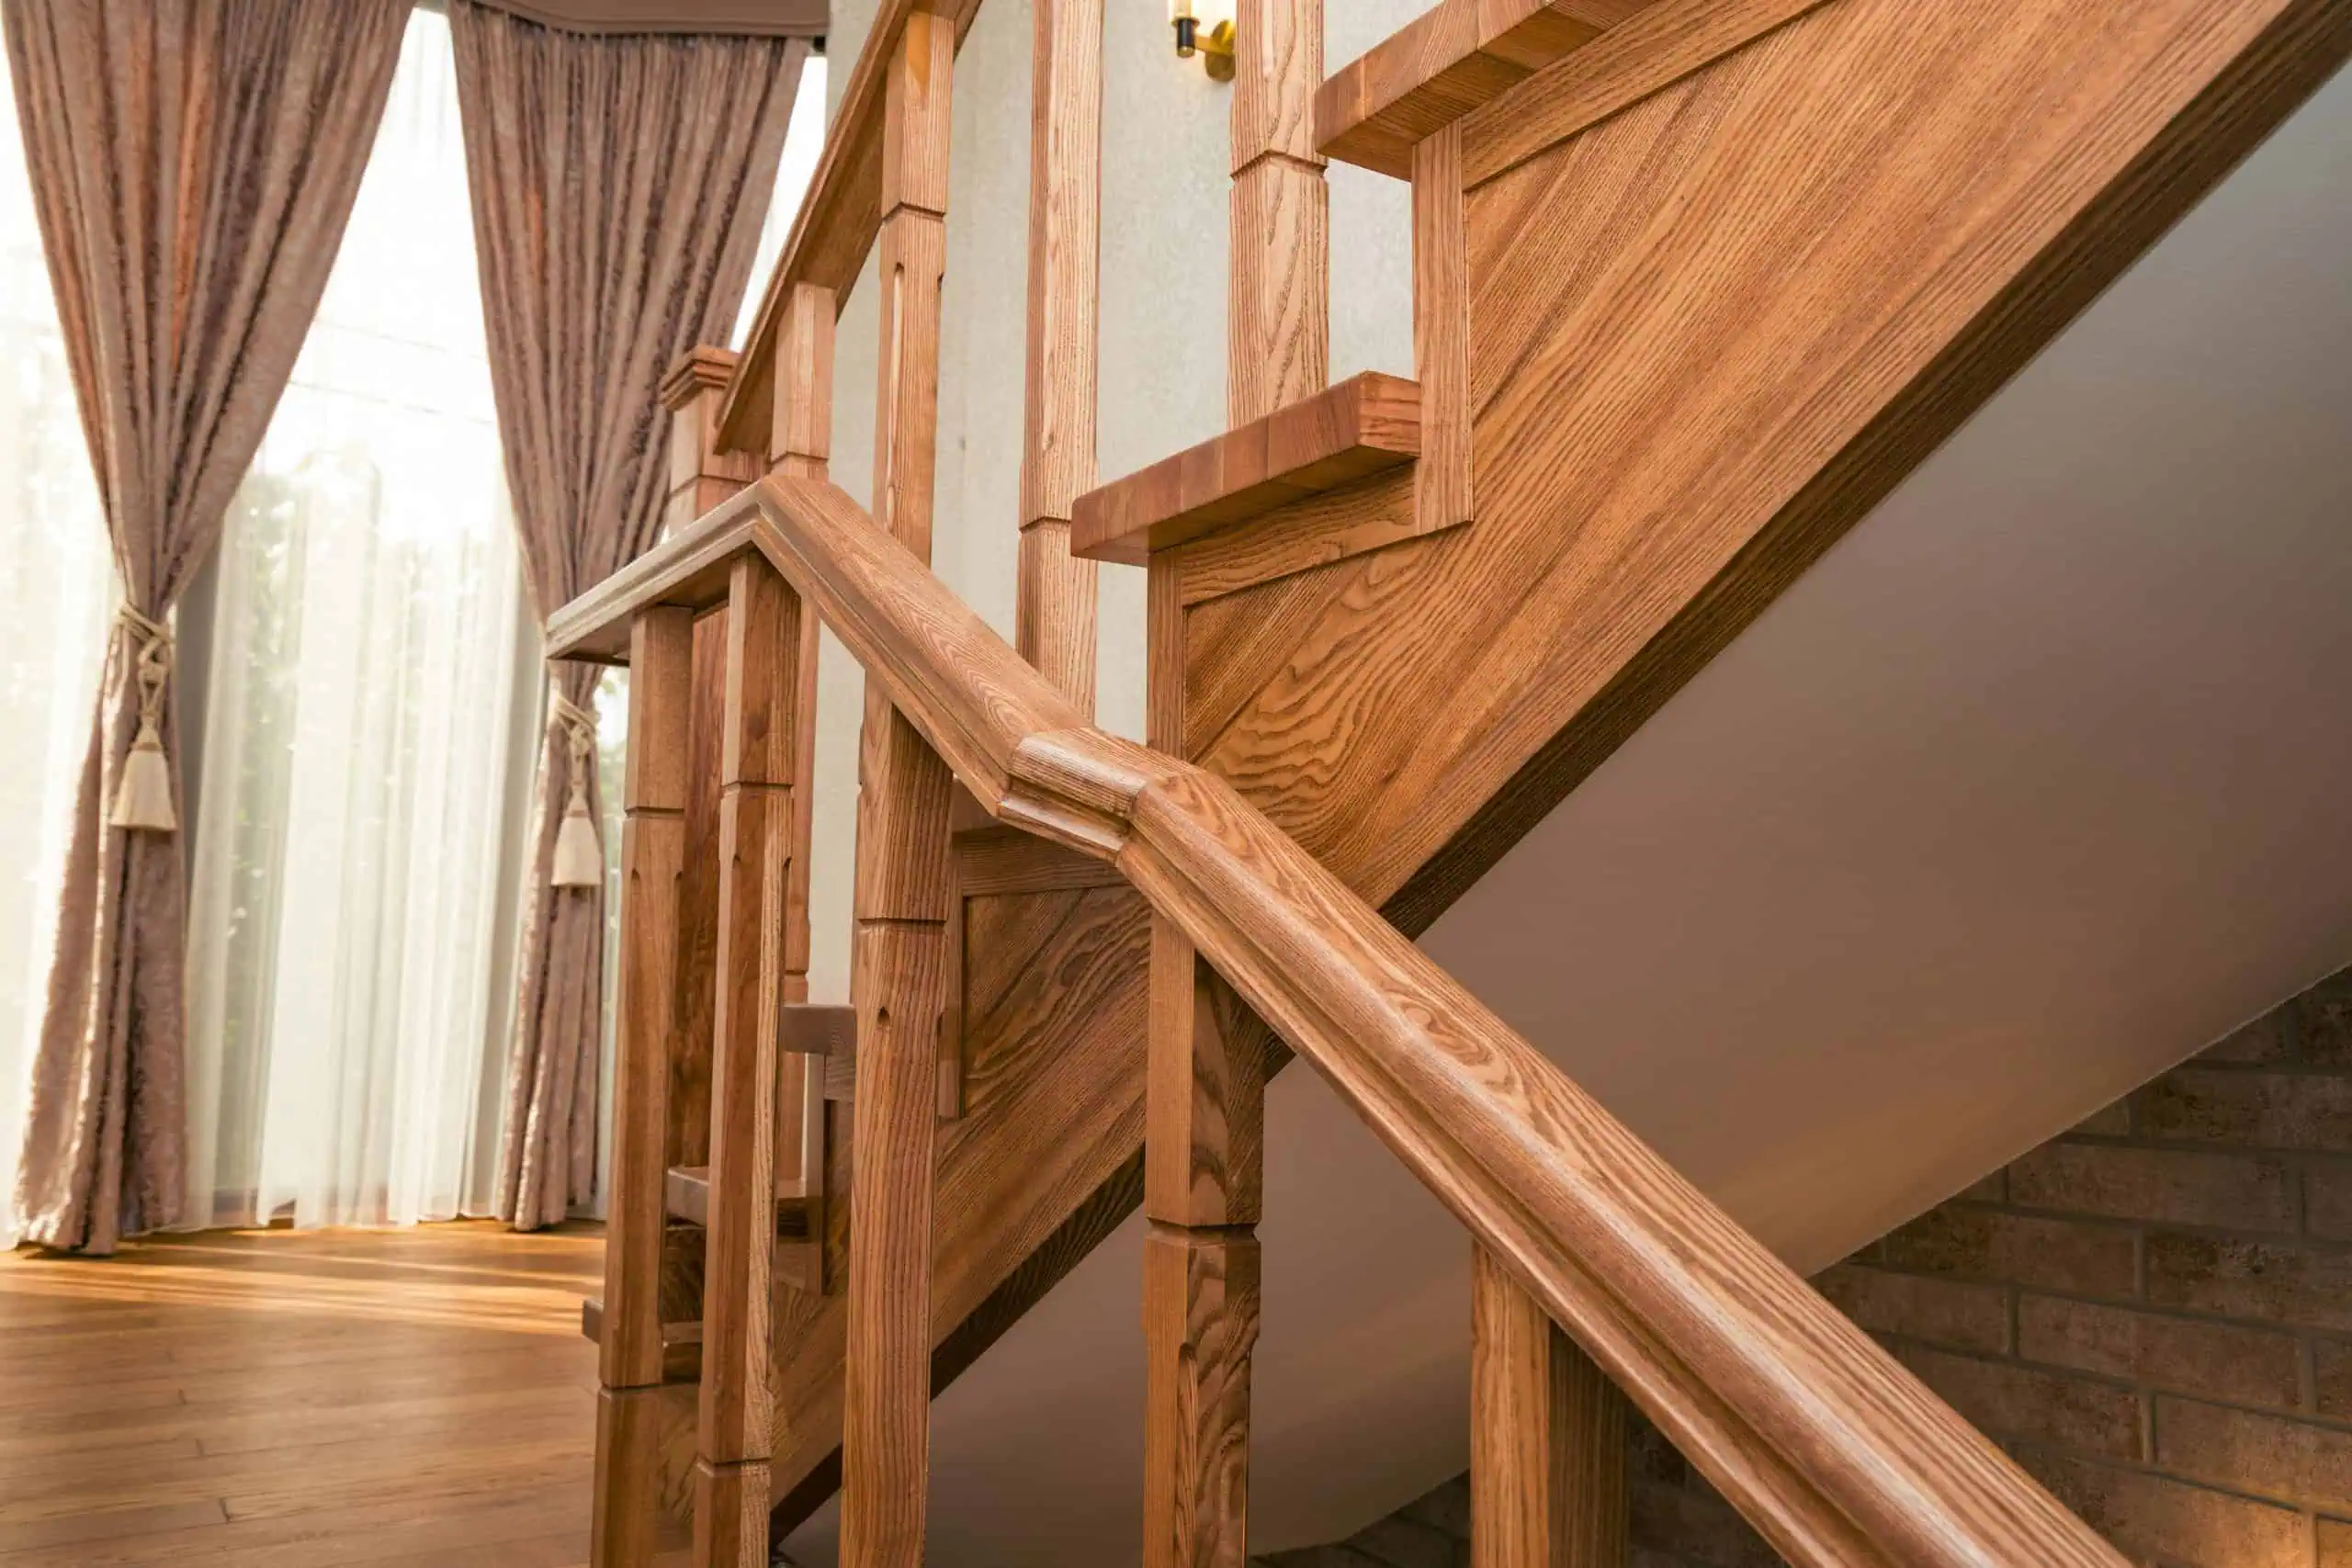
How to Install Stair Railing: A Step-by-Step Guide

Staircases are more than just functional connectors between floors, they’re architectural features that define a home’s character. A well-installed railing not only provides safety, but also adds a design element that complements your space. Picture a busy morning in a family home: kids rushing down, guests navigating the stairs, or an elderly relative needing support. In these moments, a sturdy, properly installed railing is indispensable. Beyond safety, a railing is an opportunity to highlight craftsmanship and coordinate with your flooring choices.
Whether you’re a DIY enthusiast or planning to work with a professional, understanding each step (and the reasoning behind it) will help you achieve a railing that is both secure and visually appealing.
Planning Before You Begin
Good planning saves time and prevents mistakes. Start by measuring your staircase carefully, noting the height, width, and number of steps. Consider the style of railing you want: classic wood, painted balusters, metal, or a combination. Local building codes also dictate railing height, baluster spacing, and load requirements, just as choosing hardwood floor colors requires attention to aesthetic and functional details.
Railings must run continuously along the staircase. Code generally requires railings to be between 34 and 38 inches high from the stair nosing, and baluster gaps usually must be less than 4 inches apart. Planning these measurements ahead of time ensures both safety and a polished look, similar to how proper spacing is crucial when installing wood flooring with underlayment.
Selecting Tools and Materials
Before starting, gather all necessary tools:
- a saw for cutting rails and balusters
- a drill
- a level
- a bevel gauge
- Clamps
- screws or nails
- wood glue
- and a measuring tape.
Choosing the right materials is equally important. Wood is traditional and warm, metal is strong and modern, and combinations offer a blend of style and durability. Think about your climate and the staircase location, just as you would when selecting prefinished engineered flooring.
Installing Newel Posts
Newel posts anchor your railing system. Place the bottom post at the starting tread and the top post at the upper landing. Ensure each post is perfectly vertical using a level. A wobbly post compromises the entire railing, much like uneven floor installation can cause long-term issues.
Use clamps or temporary supports to hold posts in place while securing with lag bolts or appropriate anchors. Mark the positions of balusters before attaching the handrail to maintain consistent spacing and alignment.
Measuring and Cutting the Handrail
The handrail is both functional and aesthetic. Measure the angle of your staircase using a bevel gauge or angle finder, then transfer that angle to the handrail. Accurate cuts prevent gaps or misalignment, which could otherwise compromise both safety and appearance.
Dry-fit the handrail before fastening permanently. Think of this step like choosing between light and dark hardwood floors: careful decisions upfront make all the difference in the finished result.
Attaching Balusters
Balusters provide safety and contribute to the overall look. Cut them to the correct size and attach them with wood glue and finishing nails or screws. Kits often include baluster shoes for cleaner installation, much like prefinished engineered flooring comes ready to install.
Maintain consistent spacing using a spacer block. Uniform spacing ensures a polished look, while uneven gaps can make even a well-constructed railing look sloppy.
Finishing Touches
After the handrail and balusters are installed, inspect your work. Sand rough edges, fill gaps with wood filler, and apply stain or paint to match your home’s décor. Because stair railings often pair with hardwood stairs, the finish can make or break the overall look.
The same principles that prevent wood floor buckling apply here: controlling moisture and careful installation are key to long-term durability.
Design Considerations
Beyond functionality, railing design is a chance to express personal style. Consider the interplay of materials: wood for warmth, metal for modernity, or glass for openness. These design choices can reinforce your home’s aesthetic, similar to how engineered flooring helps unify interior spaces.
Small details, like post caps, baluster shape, and handrail profiles, can dramatically affect the staircase’s look. Thoughtful finishing choices elevate the staircase from a purely functional element to a centerpiece of your home.
Installing a stair railing blends safety, design, and craftsmanship. Careful planning, precise measurement, and attention to detail ensure a railing that is secure, durable, and visually appealing. Consider it a finishing touch that complements both your staircase and your home’s overall style. Done right, your railing isn’t just support—it’s a design feature that enhances your interior. Head over to the First Atlanta Flooring shop to get all the tools and materials you need.


